Contour Mapping
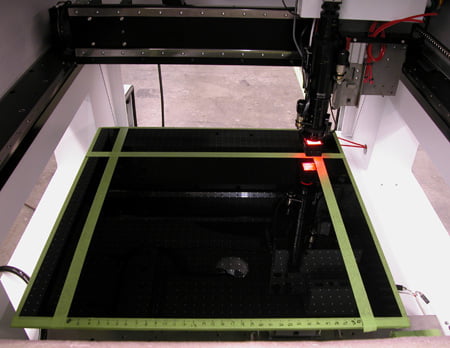
GPD Dispense systems have the highest level of accuracy in their class. We are able to achieve this accuracy through a well-designed gantry system, precision parts, and accurate assembly procedures. In addition to those steps, we also use our Contour Mapping Process. The Contour Mapping process maps the gantry positions to those of a calibrated glass plate. This process is performed on all MAX Series and DS Series systems before they leave the factory and a certificate of compliance to our specified accuracies accompanies each system. Contour Mapping may also be done in the field to meet your company’s calibration procedural and compliance requirements.


The Contour Mapping procedure consists of the gantry moving across the calibrated plate and locating each dot. The system moves to where it believes the dot should be located. The vision system captures the dot and records the offset that may be present. This process is repeated over the entire glass plate – specifically, 961 points for a MAX Series system and 1,681 for a DS9000 system. During operations, when the system is instructed to move to specific coordinates, it plots the position over the data achieved from the Contour Mapping process and interpolates the correct position to which it should move.
By applying this mapping procedure, our systems are able to achieve the highest level of accuracy available and maintain this accuracy over the life of the system.
Contour Mapping may be performed at customer site at the time of installation or at another scheduled time. Alternatively, a Contour Mapping kit can be purchased for permanent on-site usage. Please consult factory for details.


